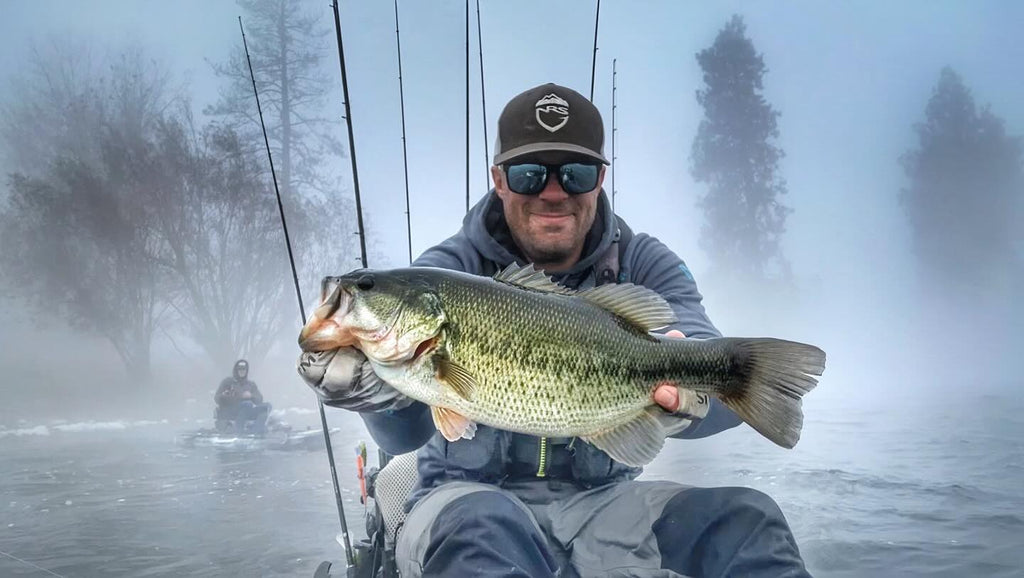
This month we are joined by Andy Ulrich. Andy has been a part of the Pro Staff team with Feelfree Kayaks for a couple years now, and lives and fishes out of northwestern Oregon. Today he is going to give us his tips on how to break down new waters to fish. Andy has had great success breaking down local rivers for smallmouth year round.
I'm excited to share with you how I go about figuring out how to fish new sections of a lake or river that I haven't had a chance to fish before. This is my actual pre fish breakdown for a lake In my area I want to fish, but haven’t had the chance to yet. I’ll walk you through step by step, so you can see how I approach new water.

Ask around
I know this sounds overly basic, but it often yields results, or clues that I can use to figure out a game plan. In my pre fish of a new lake, I like to look online on a variety of platforms like Fishbrain, and various regional Facebook fishing groups. It’s pretty apparent that nobody is going to give up all of the juice, but getting one piece of the puzzle from multiple sources can give some insight into how to formulate a game plan. Many lakes have popular areas for water sports that you may just want to avoid altogether, a tip like this can save the heartache and frustration of fighting the wakes of water skiers.
In all honesty, I think that my well outfitted kayak gets people talking. Most of the time people ask about one function or another and I always love the chance to help people learn about kayaks; what to look for when you buy and I love to talk about why I bought a Feelfree. I love my Lure 11.5 V2 with Overdrive. I could talk about it long past what most people could tolerate, so I just hit the highlights like stability, comfort, the ability to stand up, and the fact that I can pedal and fish at the same time. I usually ask people, “Do you fish out here much?” Or I’ll ask, “what’s the biggest fish you’ve seen come out of this lake?” Those questions alway get people talking and usually encourage people to talk about more than they intend to. I usually share pretty openly about what lures have been bringing me success or failure on the water. Most people love to talk, and a friendly exchange usually makes the information flow more freely.
One Bite At A Time
Let’s be honest, the one downside to a kayak is that you can’t fire up your outboard and zip a dozen miles down the lake to your next spot in 10 minutes. On a lake of any size, we have to be realistic about how much water we can cover in a day. One great way to do this is by breaking down your lake into smaller “zones” and choosing which ones to fish. On the lake pictured, I have broken it down into 4 zones.

In this demonstration, I am going to choose to fish the Northeast zone. It has 2 main lake points, a few minor secondary points, flats, as well as two creek arms and a public launch. Also, I think it has the most varied options for structure and cover, as we will see in the next section. It is a section that I think I can cover in 3-4 hours, plus the return trip. Don’t try to fish the whole lake in one day. Plan another trip for another zone. Pro tip: don’t plan to cut across big water, especially if you’re solo. Your kayak will technically make the trip, but the chance of an incident with a boat or having to deal with large wakes is just a recipe for trouble.
Google Earth
One secret of many pros is Google Earth. It is super helpful in finding structure and cover before you ever hit the water. For this technique, you need to download Google Earth Pro on a laptop or desktop (it will not work on a phone). Once you find your body of water, cycle back through the timeline function to find a historical image with low water levels. You can then see in full color the bottom and hidden cover that so often is out of sight. Once you find your low water pictures, it is easy to find the hidden targets such as stumps, rock piles, river channels and sunken objects. This is a great way for those that don’t use a fish finder to get a look at the bottom topography without an investment in technology. For those who are deeply invested in tech, your graph is likely to be able to take GPS waypoint inputs from the bottom right of the Google Earth screen.


Fish Finders
A good fish finder is worth every penny. I have the Garmin Striker 9SV, and love it. In my experience, a graph with sideview and downscan are indispensable for understanding what is going on around your kayak. Without the help of technology, you can’t see fish, baitfish, bottom composition, deep vegetation and where it tops out. This feedback is invaluable when you are on the water.
I live in an area where ponds are everywhere and big lakes are an hour’s drive away. Unfortunately, none of my local bodies of water are large enough to have Navionics maps, so the ability to plot my own charts is a must. This feature has given me the ability to chart all of my favorite ponds and small lakes in my area. Like anything in life, the more options you add, the more it will cost you. But if you can afford it, spring for side view and a bigger screen. If you keep your eye out, you can usually shave a few bucks off on a Black Friday or Christmas Sale. Having My own charts, water temps and waypoints are critical to putting together a pattern when I’m on the water. Additionally, this lets me go back and analyze when I’m off the water. There have been many times where I have reviewed my charts and noticed small nuances in structure and points of interest that have led to fish catches on my next trip.
I hope that these tips will give you an edge in planning your next trip and add up to a few more fish next time you are out on the water.

Read Tips from the Pros: Breaking Down New Water Part 1 Here
Written by Andy Ulrich, Feelfree US Pro Staff Team Member
Edited by Bobby Ulrich, Feelfree US Pro Staff Team Member