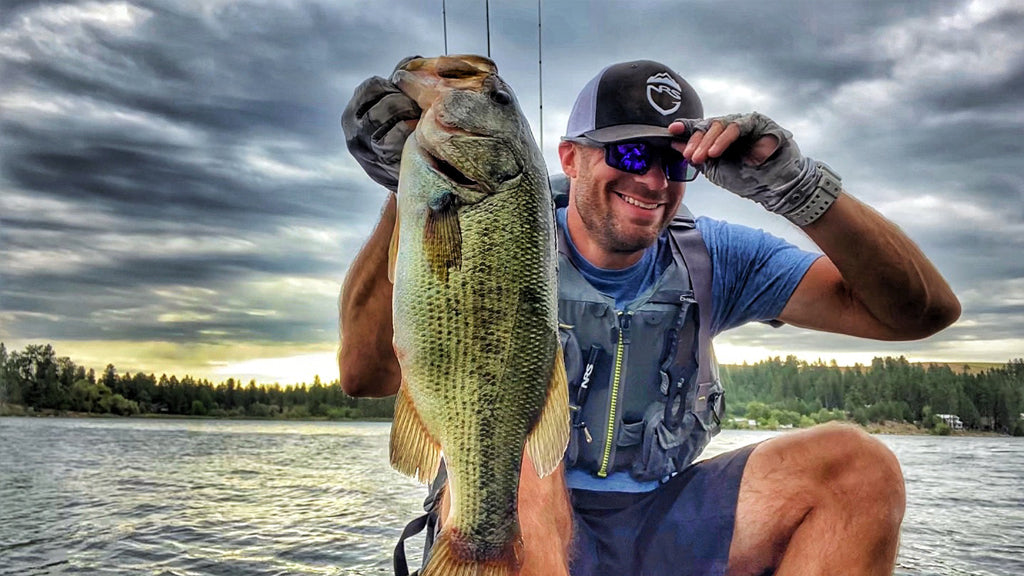
“You should have seen it. It was huge!” We’ve all been there, desperately longing for someone to see the fish we just caught. After all, we want to share the sport that we all love with others. But fishing in a kayak, often alone, doesn’t lend itself to amazing on-the-water shots.
Or does it?
Getting that perfect pic might actually be easier than you think. In fact, the next amazing fishing picture you see may be of… well, you.
Hold the Phone
While we all love a good selfie, the best photos are probably not going to come at arm’s length. If you do choose to take your pictures with your phone in your hand, be sure to have it tethered to either you or your kayak. No one wants to go swimming for a phone.
The best option for taking great on water pics is to secure your phone to your kayak using a phone mount. Most phone mounts cost less than $50. Mount it to your kayak UNI-Track rails, or hard mount it to the hull directly. If mounting to the hull, use silicone in the screw holes and under the base to ensure a watertight seal.

If available, use an extension to get your phone at eye level. It’ll make you look 20 lbs lighter, and allow you to capture more than just a close up of your and your fish but your kayak and background too. That said, while portrait pics work well for, well, portraits, you probably want more than just your pretty face in the frame. Often rotating your camera to the side 90 degrees to capture you and your fish in a landscape shot makes the most sense.
Don’t Say Cheese
“3,2,1, smile!” Every family photo has that one person that is not looking at the camera, not smiling, or doing that weird half blink zombie eye thing. Luckily camera technology (specifically cell phone technology) has come so far since then. Here are a few tips to snapping that not awkward pic on your very first try.
- After you land that fish, take a moment to catch your breath. Once you are thinking clearly, turn on your phone, and open the camera app.
- Make sure you are using the front camera. Taking a great picture is so much easier when you can see the shot.
- Make sure to not crop off the top of your head, or heaven forbid, some of your fish.
- Take note of your background, if the sun is behind you, cover it with your head or body.
My recommendation is to set your phone into “time lapse” mode, and press record. Time lapse takes a pic every .5 seconds (or similar) until you stop recording. Hold your bass up and smile for that perfect memory. Feel free to hold your fish a little closer to the camera to make it look bigger. Even the pros do it. We won’t tell.
If you have an older phone without "time lapse" mode, use the timer in your standard photo mode, this will give you some time to hit the photo button and set your position.
Make sure you do all this fairly quickly though, you want to make sure to get that fish back into the water as safely and as soon as possible.
Hit Me With Your Best Shot
At the end of your day, open up one of those time lapse photos and scroll through all the still frames. You should have plenty of stills per recording to choose from. Find one or two that really capture the joy of the moment on the water. Save the pics you want to keep with a simple screenshot. Be sure to mix it up. Don’t choose the exact same pose with each fish. Doing this will make each photo in an album unique and interesting.
Once you have the right pictures selected, it’s time to make them pop. Download a free photo editing app, like Snapseed or Lightroom, to your phone and apply HDR lighting. Adding HDR lighting (or effects) to your photos will make them dazzle without having to apply multiple filters bringing out the shadows, enhancing texture and giving it that extra punch of color it needs to make it stand apart.

While you are still learning your way around a good photo, subscribe to a beginners photo blog (Phone Photography 101 is great). You’ll learn some simple tips and tricks to help you become the best looking kayak fisherman on the water.
Written by Bobby Ulrich, Feelfree US Pro Staff Team Member
